Physical Cyber Range
An overview of how and why I built my cyber range— an isolated lab environment for practicing both offensive and defensive security techniques. This article is an overview; there's a more in-depth writeup linked at the end.
Why I built this project:
I built this cyber range because I needed a place where I could safely build my own labs and experiment freely with a high level of customization over the setup. I wanted a learning resource that lacked a 'step by step' structure– the type typically found on TryHackMe or similar training environments. Online programs like that are great for fundamentals, but in my opinion, if you have to build everything yourself in order to break it, you'll learn a lot more overall.
I also wanted to start developing a more enterprise-style attack methodology, and the best way to do that is to actually build an enterprise-style network. So that's what I did.
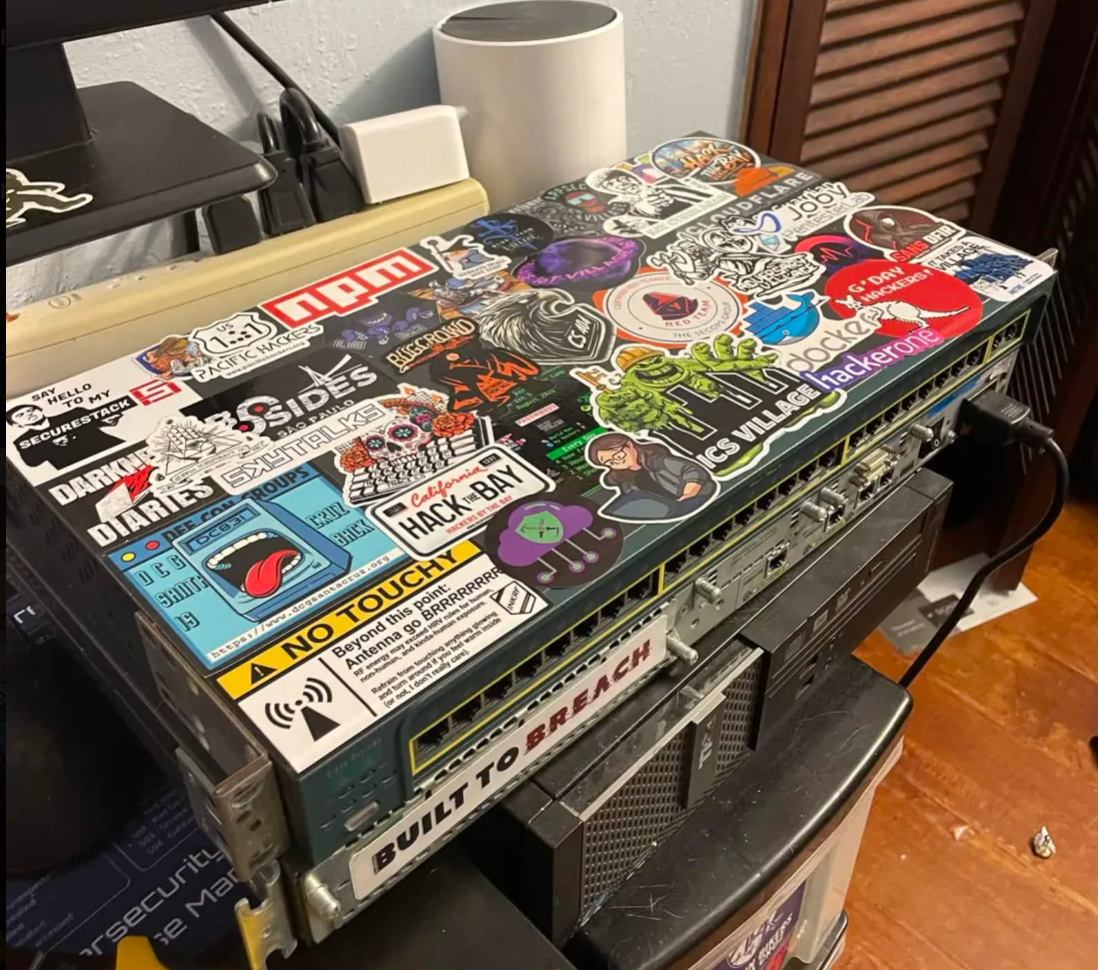
Virtual vs physical: While a lot of cyber ranges are hosted within the cloud, I had some legacy Cisco hardware given to me by my networking professor, and while it's quite old, the hardware still works perfectly. Additionally, having an airgapped and isolated testing network gives me peace of mind that whatever I throw at it will stay isolated. For those two reasons, I went with a physical setup for this cyber range.
The largest goal I had for myself while building this lab was to design it to support future learning projects, whether that's WGU coursework, studying for exams, training for CTFs, practicing Active Directory attacks, or anything else that catches my curiosity. Having a modular framework that I can build upon and reshape to fit my needs is ideal for where I am in my learning journey.
High-Level Architecture
Within my Cyber Range's topology, there are three security zones:
- Internal LAN (targets)
- Attacker network
- Monitoring/SIEM network
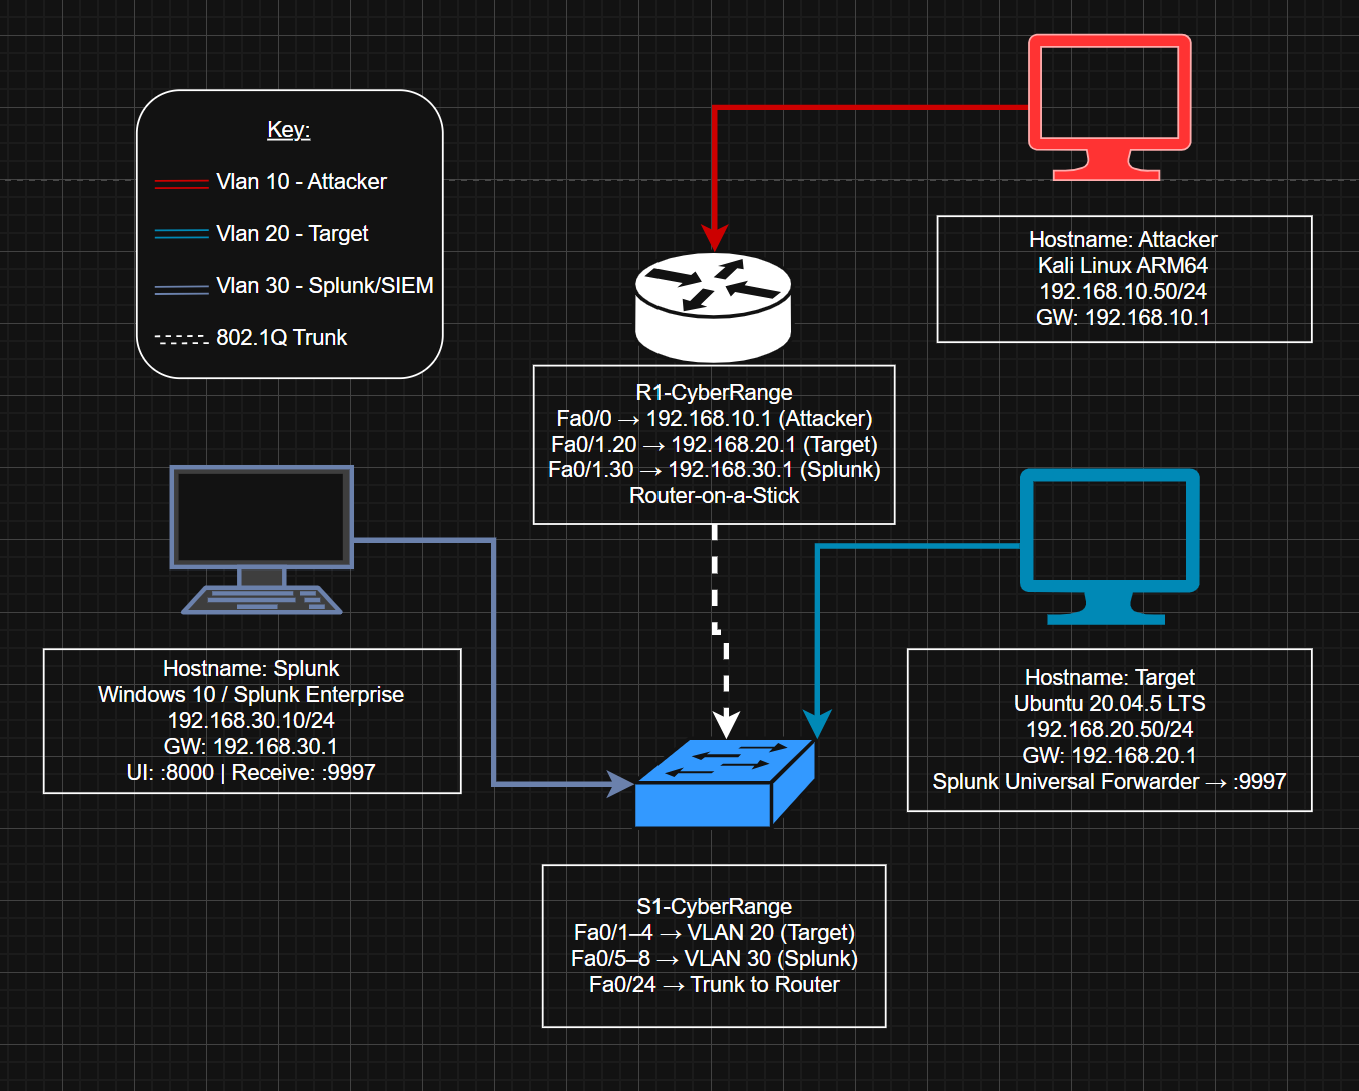
Inter-VLAN routing is handled router-on-a-stick style, with Fa0/1 carrying the trunk link to the switch. The attacker RPi is technically on a dedicated router interface (Fa0/0), but it's still assigned to VLAN 10 to keep the zones consistently isolated.
Hardware & Platform Choices
This entire range was built without spending any money– I had some Raspberry Pis (RPis) laying around that I'd gotten for free, along with gifted Cisco hardware and Ethernet cables I made myself (using my friend's cable-making supplies). For this project, RPis are perfect for attacker/target roles because of their low energy cost and low power.
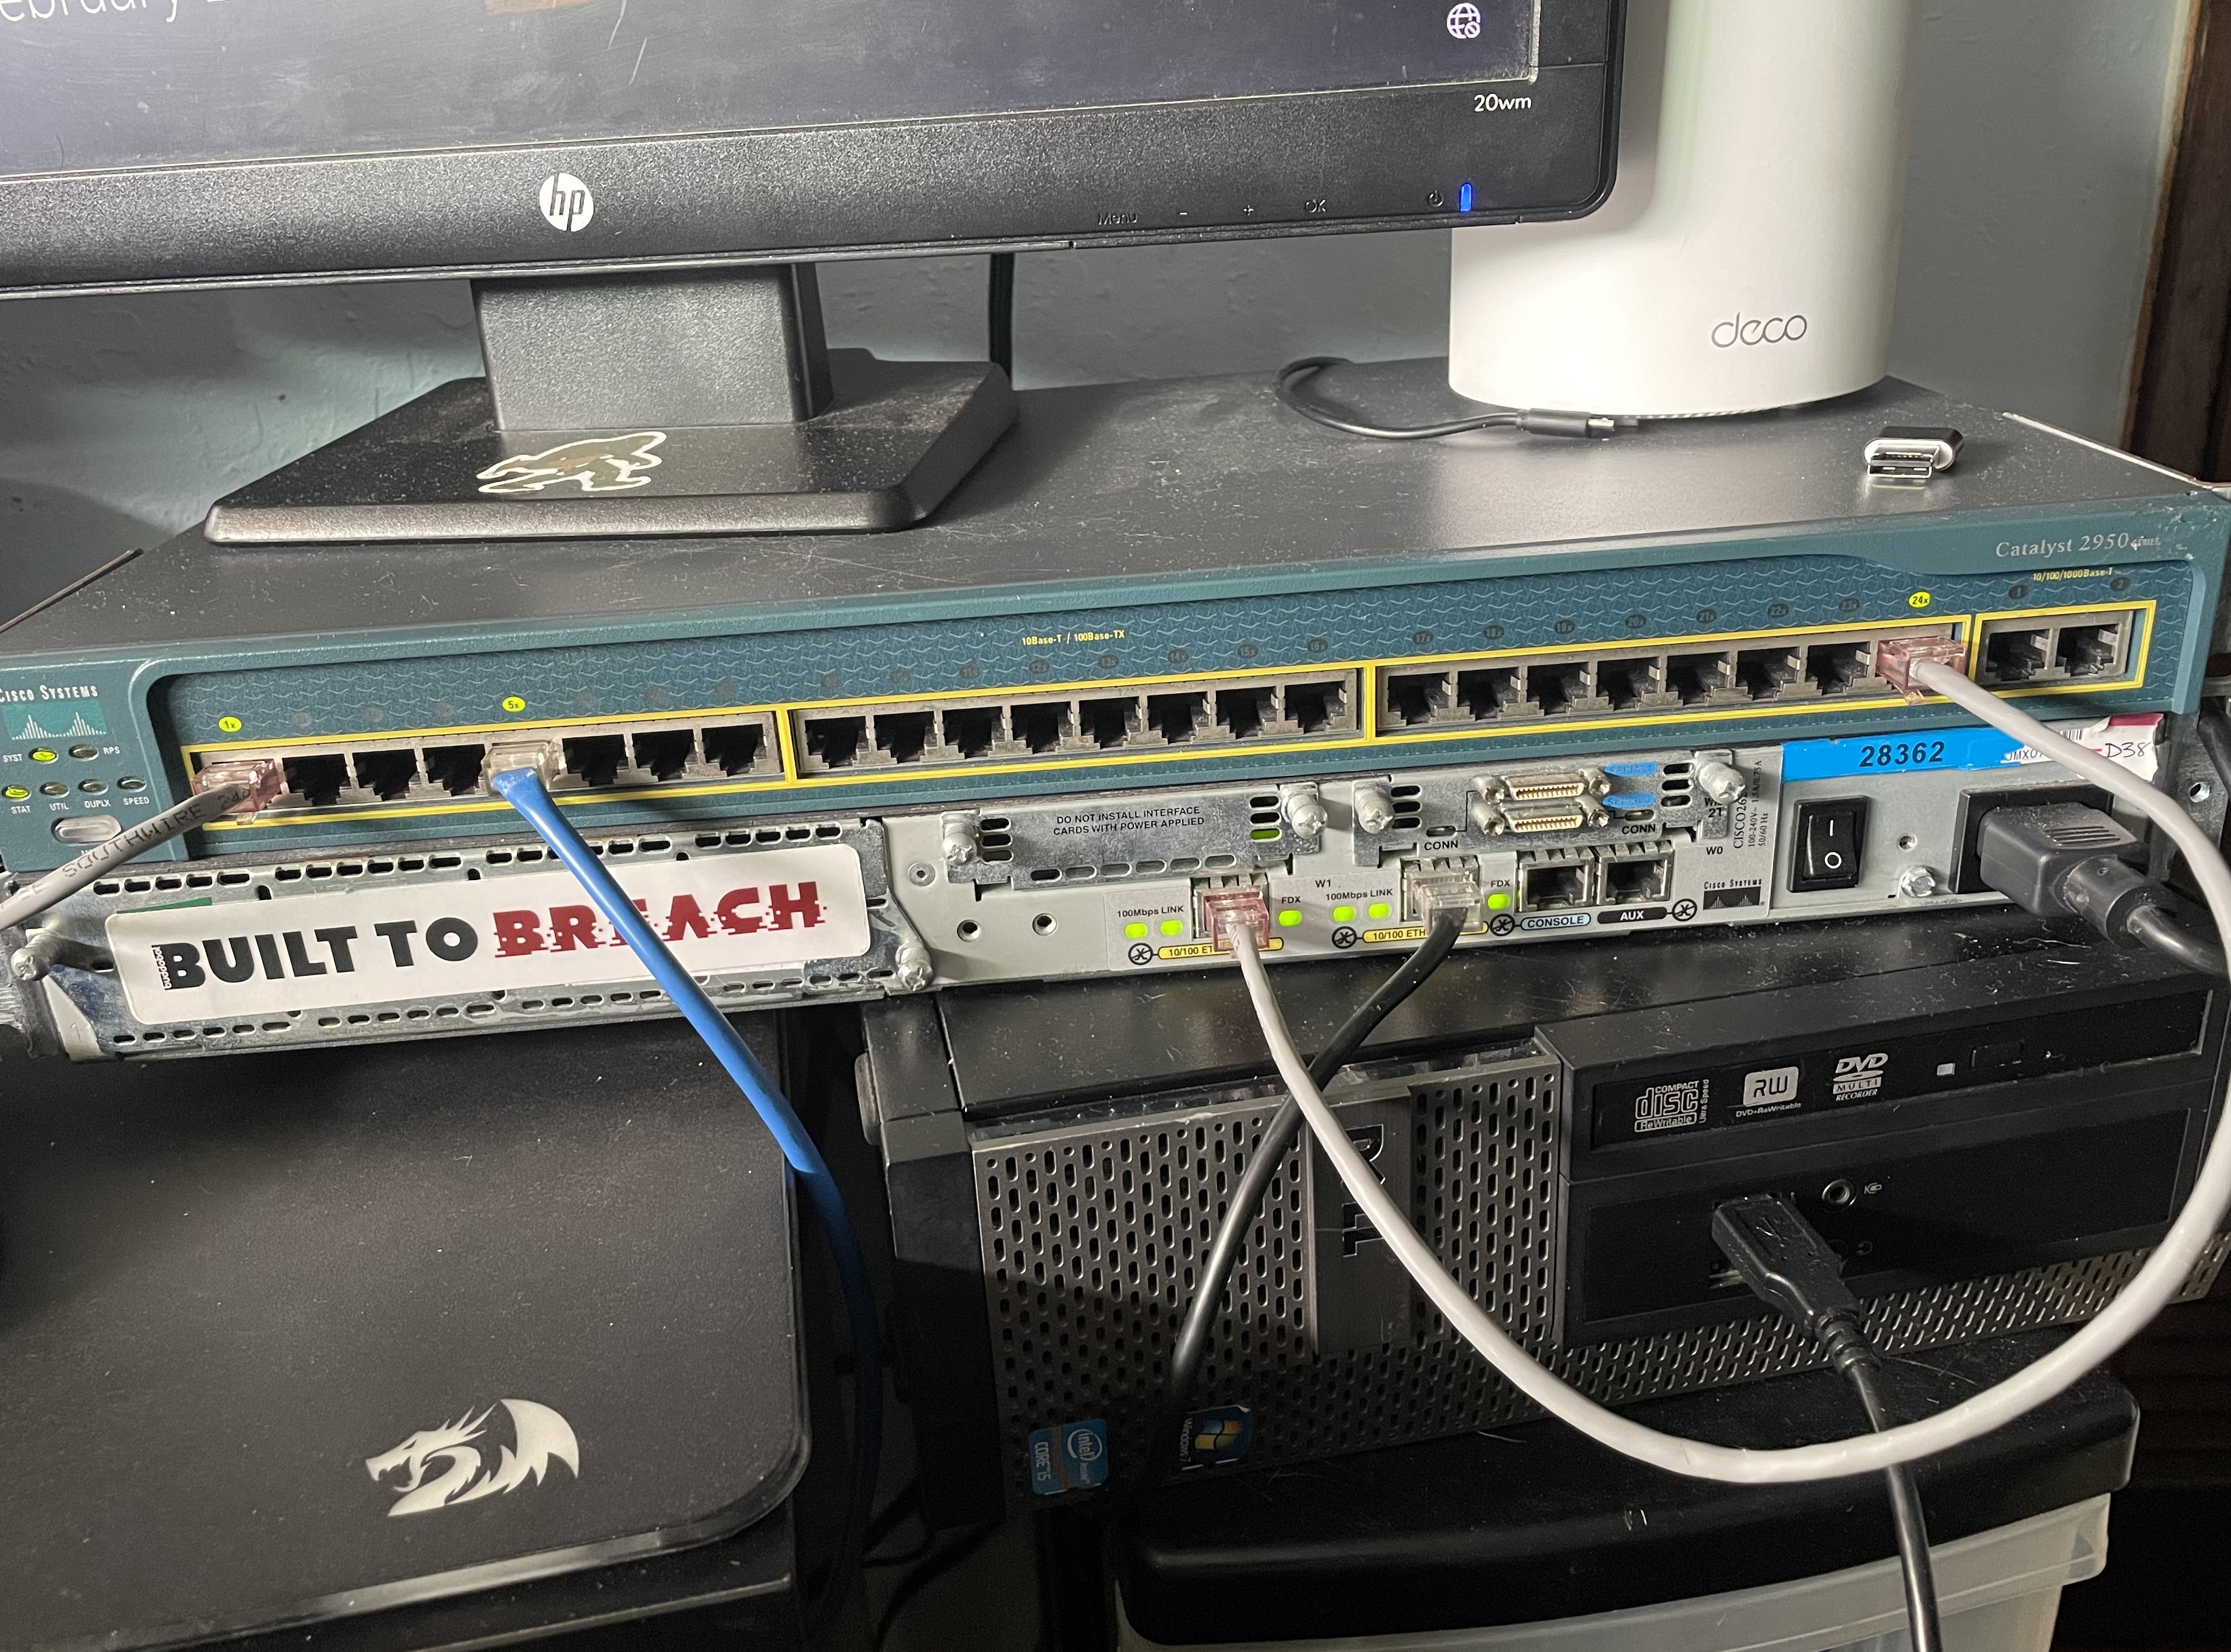
As for the networking gear, I have a Cisco Catalyst Layer 2 switch (2950) and accompanying Cisco 2600 series router for enterprise realism. Also, Splunk Enterprise is the SIEM platform I chose, mainly because it's commonly found in enterprise environments.
Network Segmentation & Routing Strategy
For the range's routing strategy, I sought VLAN-based segmentation to isolate roles cleanly. Because the router only has two interfaces, a trunk link to the switch was necessary to support multi-VLAN routing for the number of devices I wanted to deploy. I have done many of these configurations in Cisco Packet Tracer when I took Rick Graziani's CIS 83 – Enterprise Networking at Cabrillo, but it felt satisfying to revisit those concepts on real hardware. I rarely get the chance to use Cisco IOS commands and brush up on specific things like how 802.1q tags are configured, so this project was the perfect thing to keep those things fresh in my mind.
Attacker & Target Setup
For the attacker and target operating systems, I chose Kali and Ubuntu. While Kali can feel bloated for researchers who've narrowed down their own specific toolset, it's the standard all-in-one for a reason– it's an all-in-one, and for a lab like this, where I intend to practice many different types of attacks, it makes a lot of sense.
For the vulnerable target, I went with Ubuntu-based for two reasons- firstly: it's widely used in server environments, and secondly: it's quite lightweight. This is especially true when running without a desktop environment, like the one on my range is. Both of these reasons make Ubuntu LTS a great choice for the RPi 3A+.
One thing I didn't expect to spend much time on was password recovery. I kept getting locked out, which meant rolling up my sleeves and getting into the weeds with bootloader manipulation and digging into Linux internals. Whilst annoying in the moment, it's genuinely useful to learn more about, and again– this is the kind of knowledge that you're not going to get unless you go through it first-hand.
Defensive Monitoring Design (SIEM VLAN)
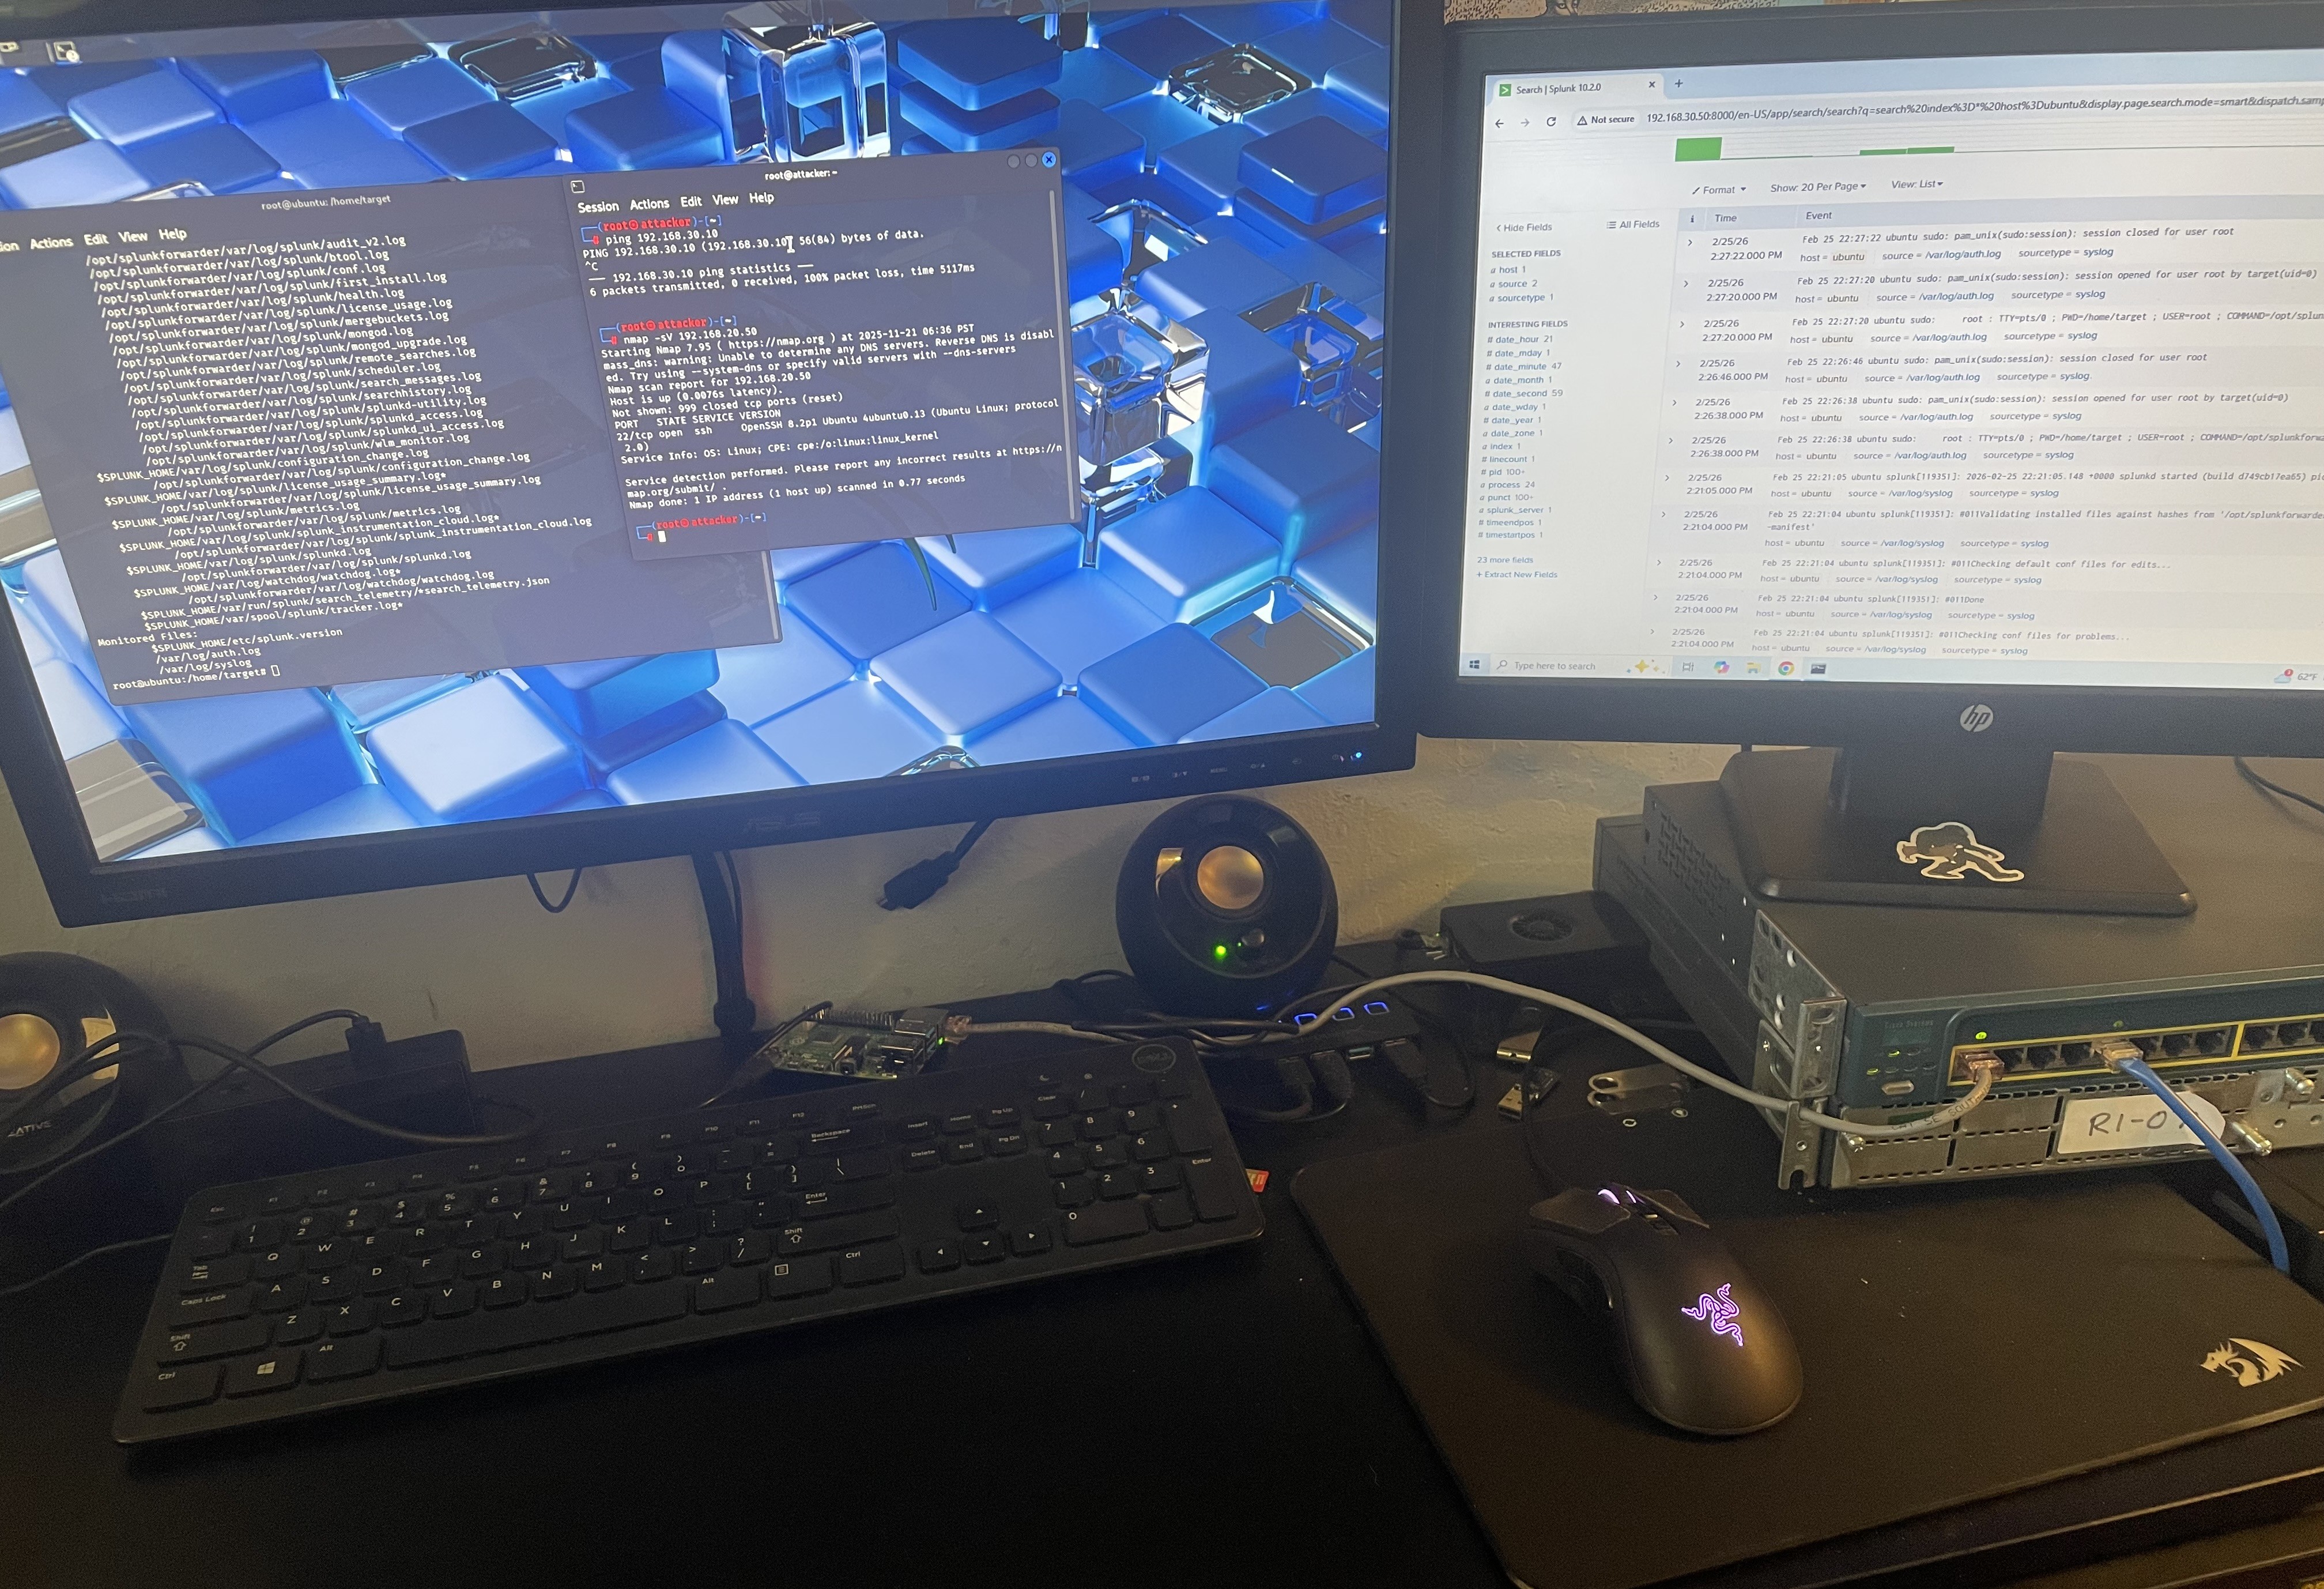
The choice to have a dedicated monitoring VLAN to mirror a real SOC environment was easy. Logs are forwarded from the targets to the SIEM, and the network separation helps prevent an attacker from tampering with them– although that's exactly the kind of thing I plan to study extensively with this setup…eventually.
The Splunk-on-ARM Reality Check
I had originally planned to run Splunk on an RPI 4B with 8GB of RAM, which I initially reasoned was sufficient for a small lab with minimal traffic. However, the real bottleneck was the CPU emulation that made instructions run quite slowly. I spent a lot of time trying to get it to work with QEMU and Docker for AMD64 emulation, but eventually decided it would be better to pivot by moving the SIEM to dedicated hardware– my old OptiPlex (running Windows 10). The shift to start fresh on the install on a different machine was the right move, and I was able to get Splunk running much quicker. Sometimes it's faster to cut your losses and realize when something's not working, rather than keep fighting it.
Future-facing value
This project is nowhere near done. My next step is starting a weekly CVE series– taking a vulnerability, replicating it in the lab, and writing it up; a series that will push me to learn various types of attacks in depth. Beyond that, this range opens a lot of doors: lateral network movements, detection and alert tuning, etc. I definitely plan to study Active Directory attack techniques as well, including but not limited to: Pass-the-Hash, DCSync, and Kerberoasting. In the future, I also would like to challenge myself to set up monitoring thoroughly, and then do a full black-box engagement against a target I know nothing about on the target network. Perhaps this takes the form of a VulnHub machine, or something that gets randomly provisioned without me seeing the setup. Then, I'd like to see how efficient my monitoring/hardening was. Either way, I'm excited to continue training myself to think like a real red team adversary. </>
As promised, if you'd like to see my technical notes and an in-depth write-up from the process of creating this lab, check out this GitHub repo: https://github.com/paperclipsvinny/physical-cyber-range. This is also where future updates to the cyber range configuration will be posted.